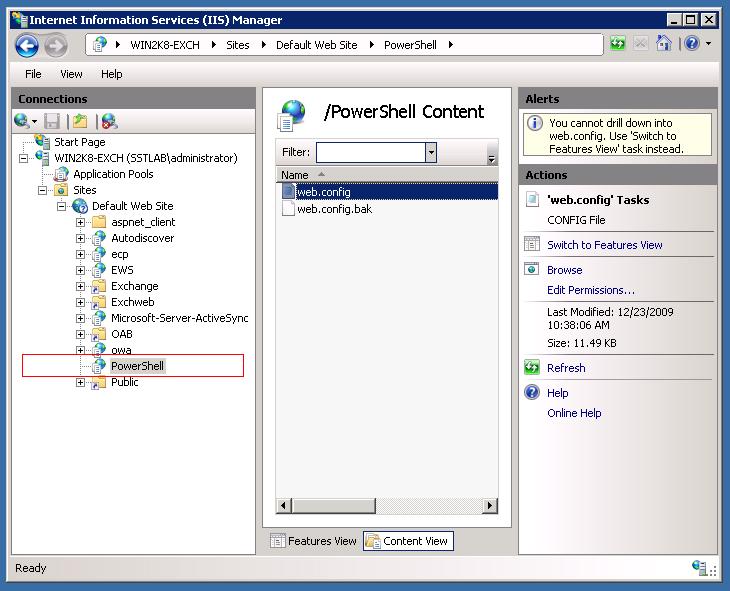
If you’re as busy as most IT administrators, you’re probably looking for the most efficient way to manage your Exchange server. The best tool you can use is PowerShell. Exchange 2010 ships with a well-defined PowerShell 2.0 web service that allows you to manage and automate administrative tasks using a remote session through HTTP.
It’s extremely flexible and enables you to control all aspects of mail server management, such as adding and removing users, setting mailbox properties, assigning users to groups, and almost any other function you can think of.
The PowerShell web service can be installed on a variety of Windows client machines, including: XP, Vista, Windows 7, and Server versions 2003, 2008 and 2008 R2. It can also be used with Exchange 2007.
Setup
To start using the web service, the following configurations are required:
1. Get the latest version of Windows PowerShell and WinRM:
Check the currently installed PowerShell version (on the server and client machines) by running the following command:
get-host | select version
If the version is older than 2.0, uninstall both PowerShell and WinRM and download and install the Windows Management Framework (Windows PowerShell 2.0, WinRM 2.0 and BITS 4.0) on the both the server and client machines:
Download: http://support.microsoft.com/kb/968929
2. Enable PowerShell Management by running the following script:
Enable-PSRemoting -force
Remove force if you want to display and choose from available settings options
3. Enable Unencrypted:
cd WSMan:\localhost\Client
dir
set-item .\allowunencrypted $true
Or, using an Administrator account, enter the following using the command prompt:
winrm set winrm/config/client @{AllowUnencrypted="true"}
4. Add the connecting host to the servers trusted host list:
winrm set winrm/config/client @{TrustedHosts="system1, system2"}
or use
set-item TrustedHosts *
This will grant remote management capabilities to any authenticated system.
or use
winrm set winrm/config/client/@{TrustedHosts="*"}
Using PowerShell: Examples
1. Add the Exchange Management snap-in by typing the following into PowerShell:
Add-PSSnapin microsoft.exchange.management.powershell.e2010
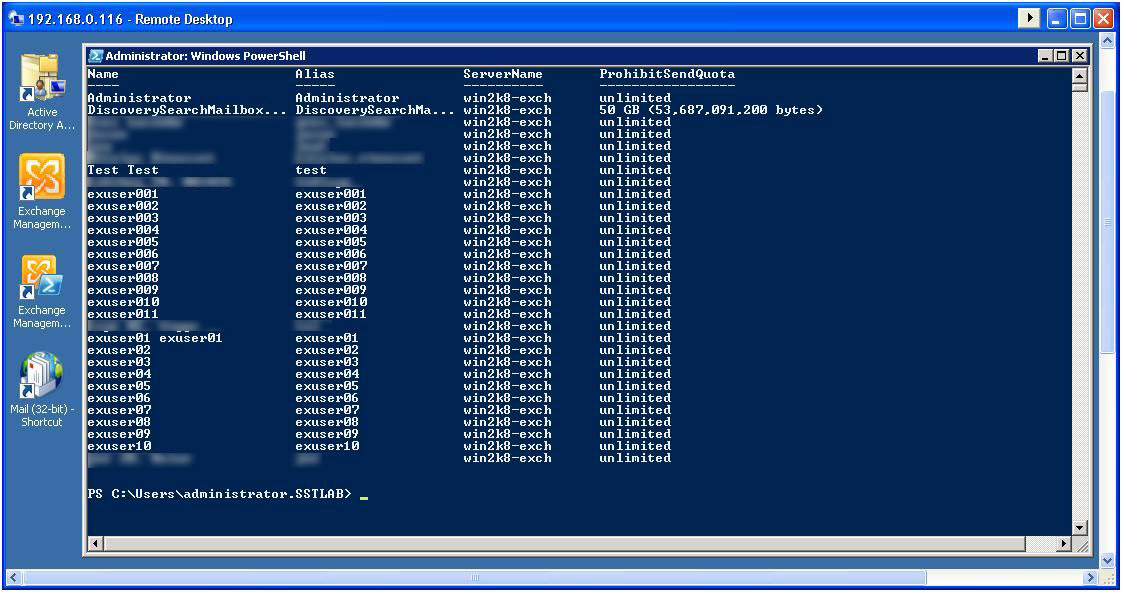
2. To list all mailboxes on the Exchange server, use the Get-Mailbox cmdlet (command-let). From the command line, enter Get-Mailbox:
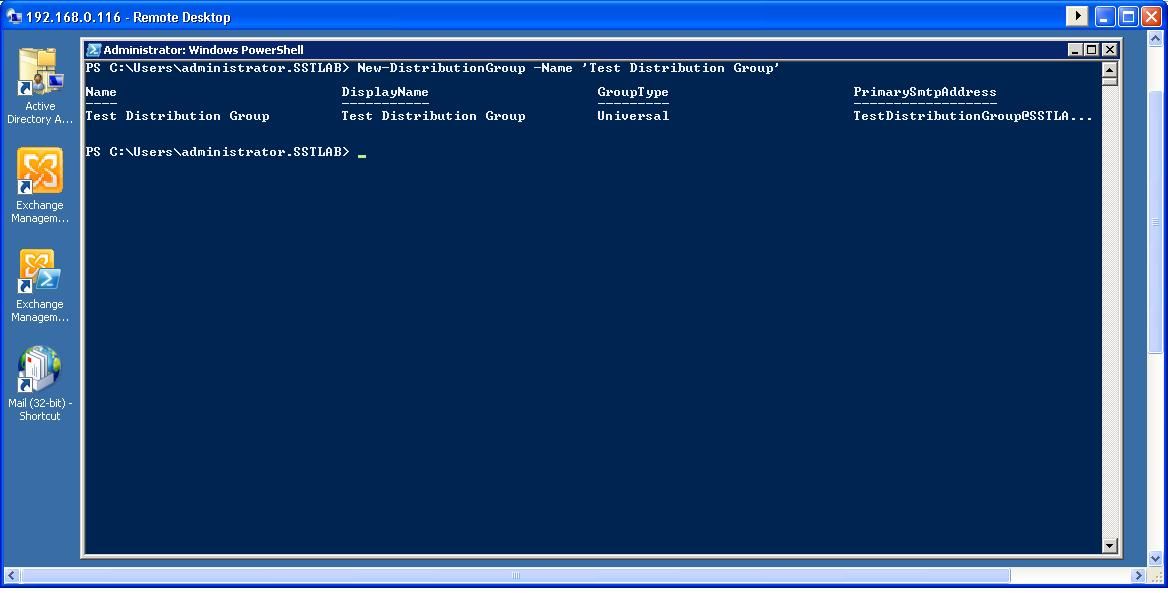
3. To create a new distribution group, use the New-DistributionGroup cmdlet. From the command line, enter New-DistributionGroup Name, and enter the name within quotes:
This is just a very small sample of what you can do. For additional examples and information, see:


Leave a Comment