Although many IT administrators already know this bit and your firewall or router already comes with VPN Server capabilities (like a Cisco Firewall for instance and its Cisco VPN client), setting up a quick and dirty VPN server on Windows (7, 2008, and 2012) is pretty simply to do provided you can connect to an isolated system, and you have control over the firewall. You can use this, for instance, to open up a secure connection from the Office to your home PC as opposed to doing an RDP session “in the clear”.
Note that modern implementations of remote desktop are already encrypted. However, if you want to reduce your security footprint, it’s not very good practice to open up your RDP port at large. It’s better to use VPN; otherwise, you need to setup IP restrictions in the firewall to only allow certain IPs to connect to your RDP port.
SERVER SIDE: Setting up the VPN Connector
You need to make sure, if you have any physical firewall in front of the windows box, that it allows PPTP pass-through (Port 1723) and GRE value of 47 (it’s not really a port). These should be open and routed to the machine you want to connect to.
Assuming that it does, this is how you setup the machine that is going to receive the connection(s). In my example, I’m using a Windows 2008 server.
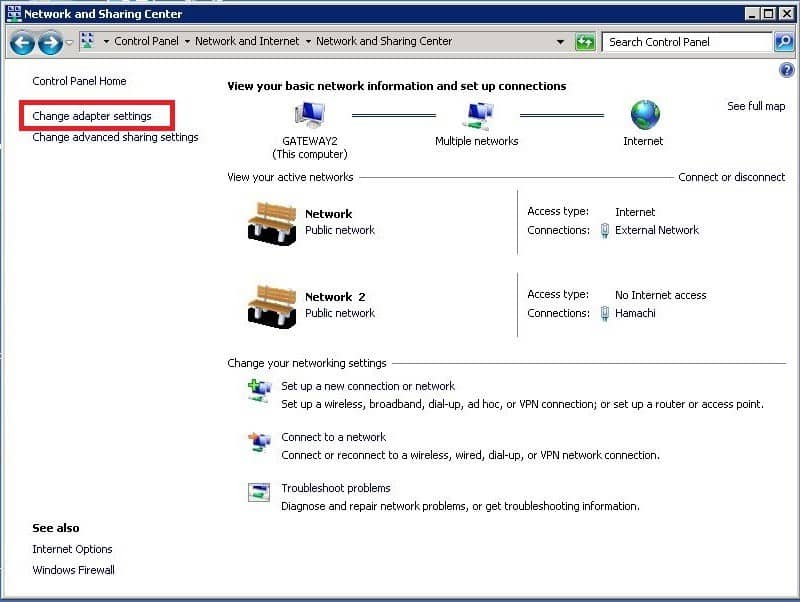
- Go to Control Panel > Network > Network and Sharing Center
- Click on “Change Adapter Settings”
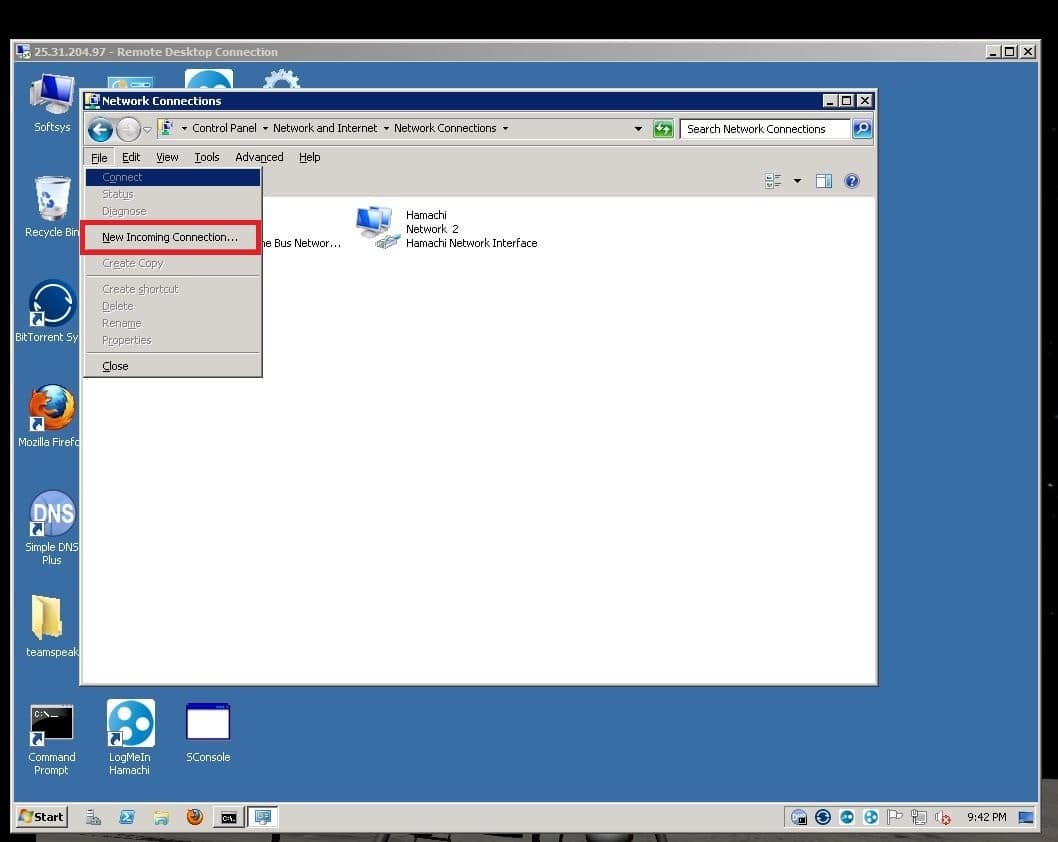
Once you are in the “Change Adapter Settings” page, press Alt-F to bring up the “FILE” menu since in some cases, it may not be visible already. You should see a menu pop-up. Click on “New Incoming Connection”.
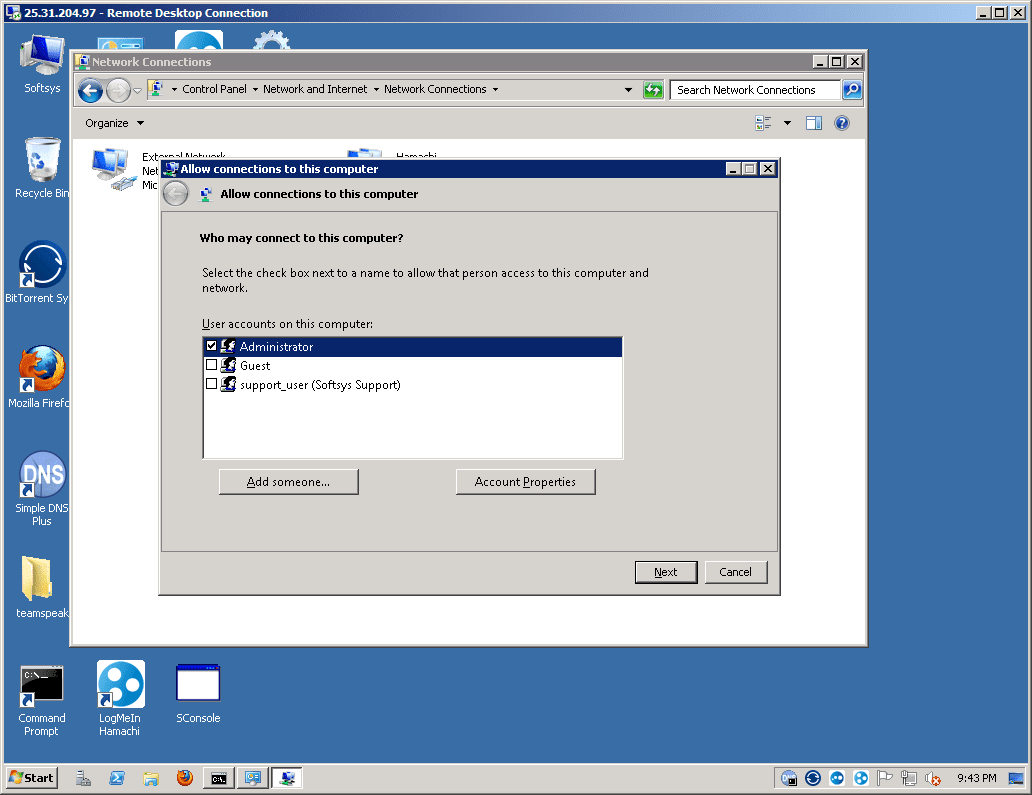
A new window will appear named “Allow connections to this computer” On Windows 2012, no user will be selected by default. On 2008 or Windows 7, the administrator user will be selected. In our case we just want to do VPN for RDP access so we select “administrator”.
[cta id=’18654′]
Another pop-up appears, “How will people connect?” Through the internet of course! Click NEXT.
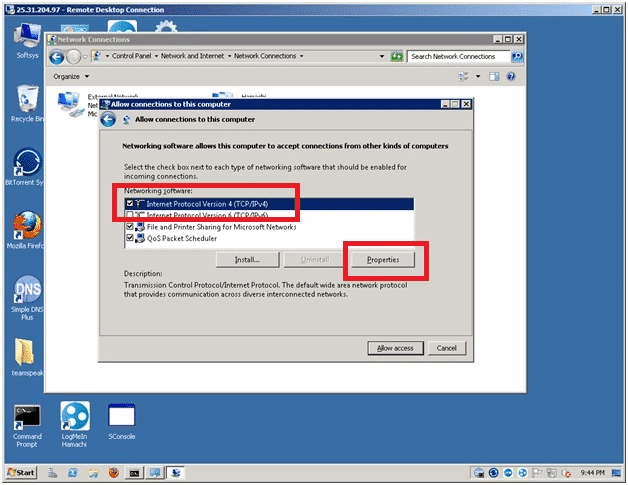
On the next pane, you will be asked to allow access. Before you do that, you may want to setup the DHCP configuration to the VPN Server. When someone connects to this computer, he or she will be given a dynamic IP from the pool you allocate. This is a private network linking only the VPN Server and any other machine connected to it.
So from this pane, select IPv4 or IPv6 (whichever you use) and click on PROPERTIES.
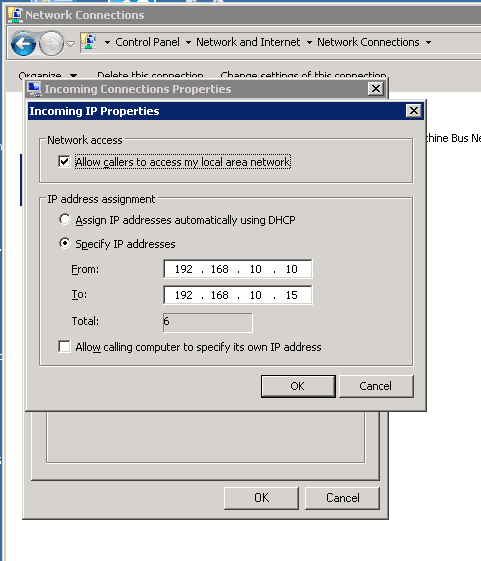
Once you’ve clicked on properties, you will be brought to an “Incoming IP Properties” range. This is where you specify what range of IPs you want to allocate to systems that connect to this machine. It’s a good idea that this doesn’t conflict with any IP ranges used internally. In my case, I put in 192.168.10.10 through 192.168.10.15. The VPN server itself (the target machine) will automatically bind to the first IP (192.168.10.10) so your first machine that connects to it should get 192.168.10.11.
Once you click OK, you will be brought back to the “Allow connections” pane. Just click “Allow Connections” You should get something like this; in which case, you’re done. In principal, the machine should automatically open up the necessary ports. In our case, we want the PPTP port (1723) open.

The new “Incoming Connections” adaptor should appear in your existing connections now.
If you go to the windows firewall, the operating system should have opened up for you the PPTP-in port already (TCP: 1723) and GRE-in (GRE:47).

You’re done with the receiving machine.
You may need to reboot it or restart the Remote Desktop service if you want it to bind to this.
ON THE CLIENT MACHINE
(This works with Windows Vista, Windows 7 and Windows 8 and the server operating systems as well)
Go to CONTROL PANEL -> NETWORK -> NETWORK AND SHARING CENTER
Click on “SETUP A NEW CONNECTION OR NETWORK”

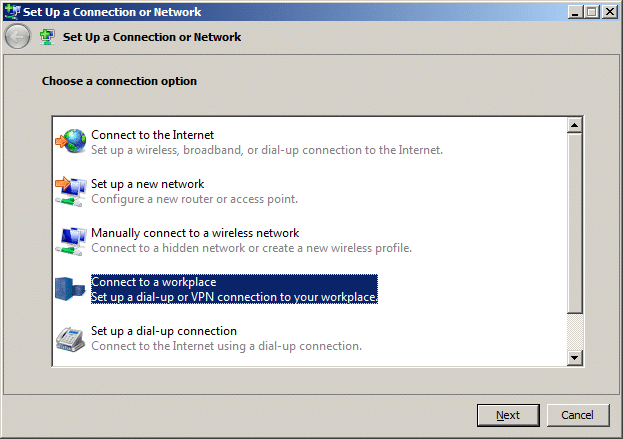
Click on “Connect to a workplace”.
Click on “Use my Internet connection (VPN)”

Type in the Internet Address (ex: system.example.com) and give it a significant name.
IMPORTANT: Make sure you select the option “Don’t connect now”, otherwise it may cut off your internet connection if you don’t!
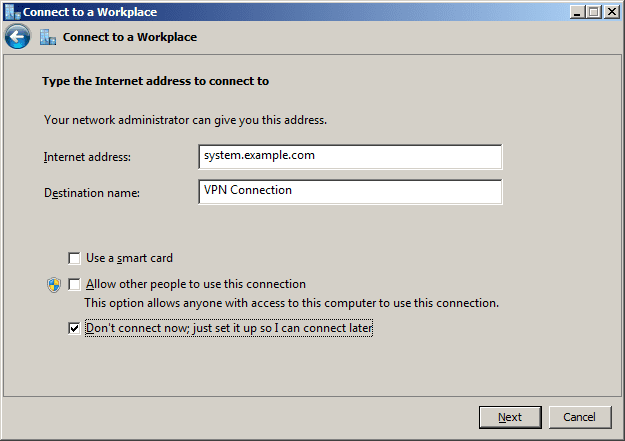
Click NEXT.
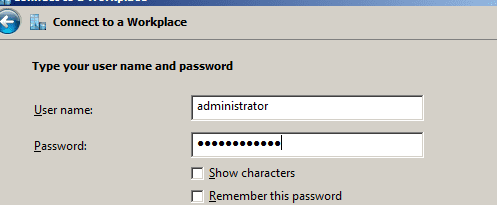
Put in the credentials you need to connect to the target system.
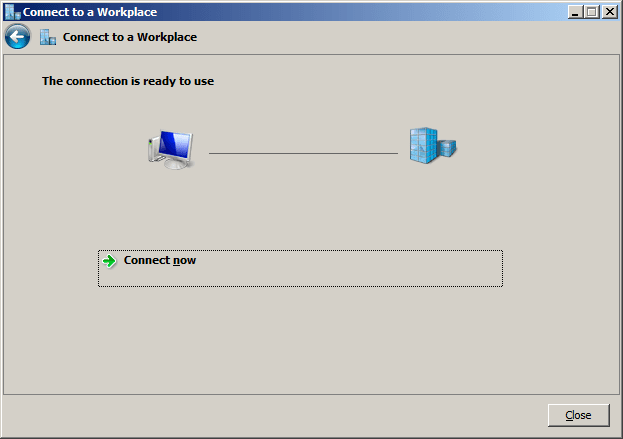
This pane should come up. DO NOT CLICK ON CONNECT NOW!
Just click on the CLOSE BUTTON.
A new connection should appear in your adaptors list:
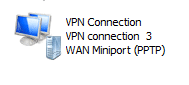
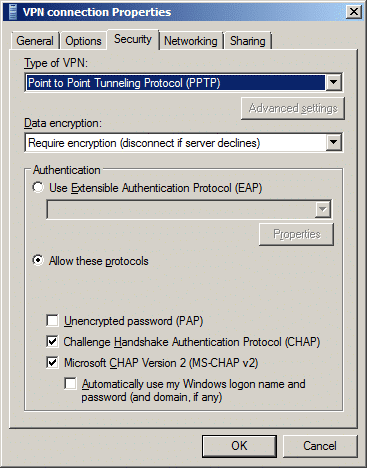
Right click on it and select PROPERTIES.
Under the SECURITY tab, select PPTP (you could leave it to auto-negotiate but this just speeds it up).
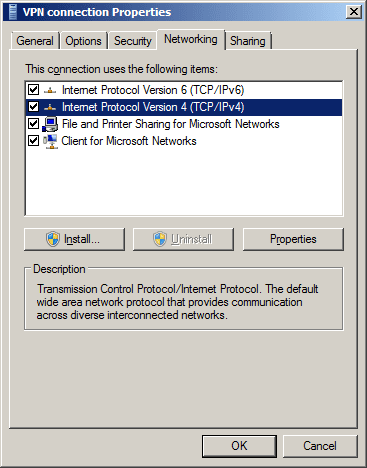
Afterwards, go to the NETWORKING tab.
Select Internet Protocol version 4 or 6 depending on which you are interested in and click on PROPERTIES.
CLICK on the “ADVANCED” button
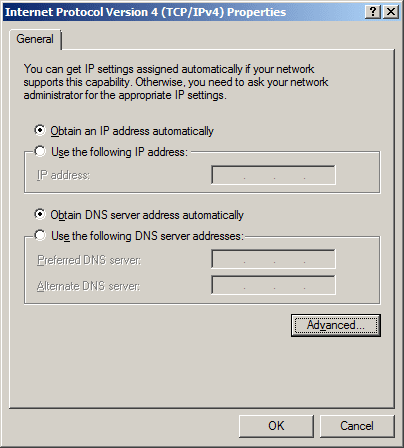
IMPORTANT: UNCHECK the “USE DEFAULT GATEWAY ON REMOTE NETWORK”
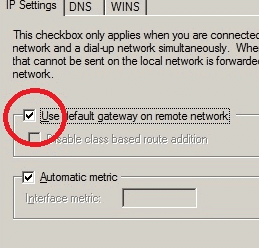
Then you can click OK. You’re done.
Double click on the VPN Adaptor to establish your connection:

A VPN login should appear:

ONCE YOU CLICK Connect, assuming no problems with the firewall(s), you should be able to establish your connection.
Remember. In our example, the VPN Server allocated IPs 192.168.10.10 through 192.168.10.15.
In our case, the VPN Server itself grabs the 10.10 address. So once the connection is established, assuming nobody else is connected, your PC should get the 10.11 following this example.
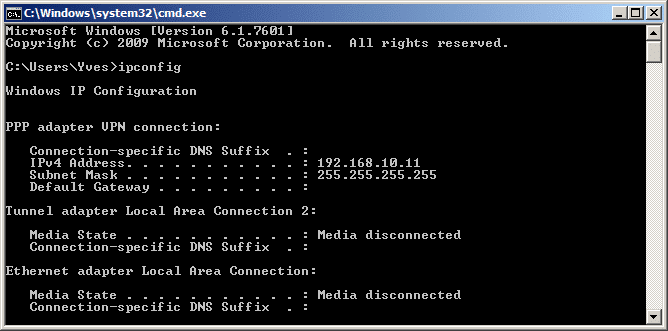
And it does!
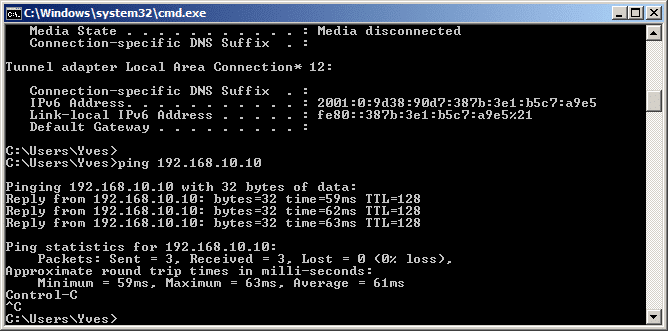
If we try to ping the 192.168.10.10, we’re getting the following response:
If I try to RDP to it, I get a login prompt
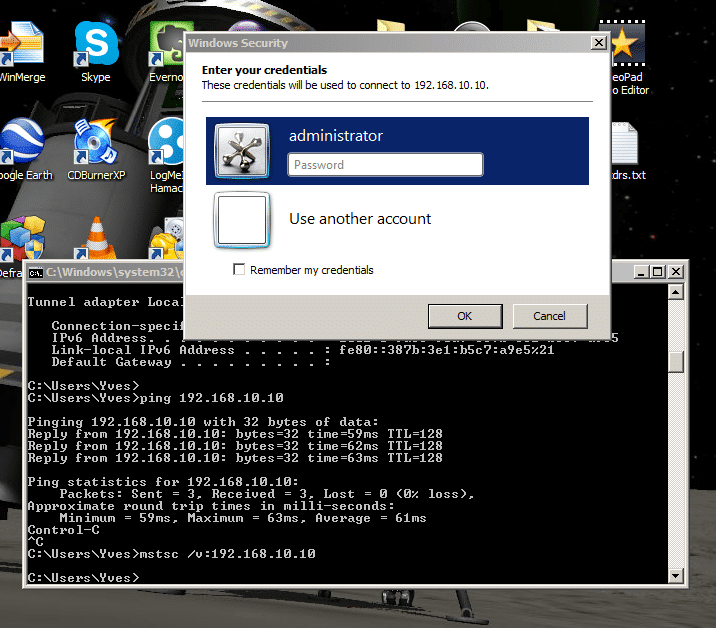
And a successful connection!

Have you tried to set up a basic VPN connection without it being successful? Let us know what did not work so we can help you out!